Tutorials (Videos in production - coming soon!)
How to animate with Animation Paper.Learn everything from the basics to the advanced.
COMING SOON - NEW EXTENSIVE SERIES COVERING ALL OF ANIMATION PAPER:
Video 1 - Diving right into it!
Get drawing. Get animating. Tool Bar: Draw and Erase, Backlight, Add Blank Drawing, Clear Drawing, Delete Drawing. Exposure Sheet: Keep track of your drawings, layers and timing. Playback.
Video 2 - Main interface
Video 3 - Drawing Tools
Video 4 - Animation workflow basics
Video 5 - More X-Sheet features
Video 6 - Light Table options
Video 7 - New Scene, Lasso, Cutter
Video 8 - Reference Layers
Import Backgrounds. Import Animation. References, footage for rotoscoping, rendered 3D.Video 9 - Animate to dialogue or music
Audio import. Scrubbing. Lipsync and Annotations. Slide Mode.Video 10
Video 11 - Optimizing Workflow
Shortcuts, Speed Dial. Customizing Speed Dials and Tool Bar. Drawing and Eraser Settings. Hold Alt to adjust pen. Etc.Video 12 - Off Pegs Tool
How to use the Off Pegs Tool, also known as Shift And Trace.Video 13 - Settings
Running through all options. Transparency as checkers, Collapsing drawings, X-Sheet Top Bar, Autosave and more.Video 14 - Exporting
Exporting for Youtube, Social Media or websites. MP4 and GIF.Exporting for production. Coloring, compositing, editing. ProRes, framestacks, OCA. Alpha channel. Scale.
INTRODUCTION TO ALPHA VERSION 1 (OUTDATED):

Alpha Video 1 - Overview
Brief overview and introduction to the interface layout. Scene Settings, Tool Bar, X-Sheet with Layers and Timeline.
Alpha Video 2 - Drawing
Drawing and modifying artwork. Pencil, Marker, Brush and Erasers, customizing drawing tools, Pick Up menu with Lasso and Cutter, Backlight (Onion Skin) settings and Speed Dial.
Alpha Video 3 - Animation
Animation part 1: Animation Workflow, X-Sheet and Timing. Adding and Deleting frames (Drawings), Clone Drawings and Slide Mode.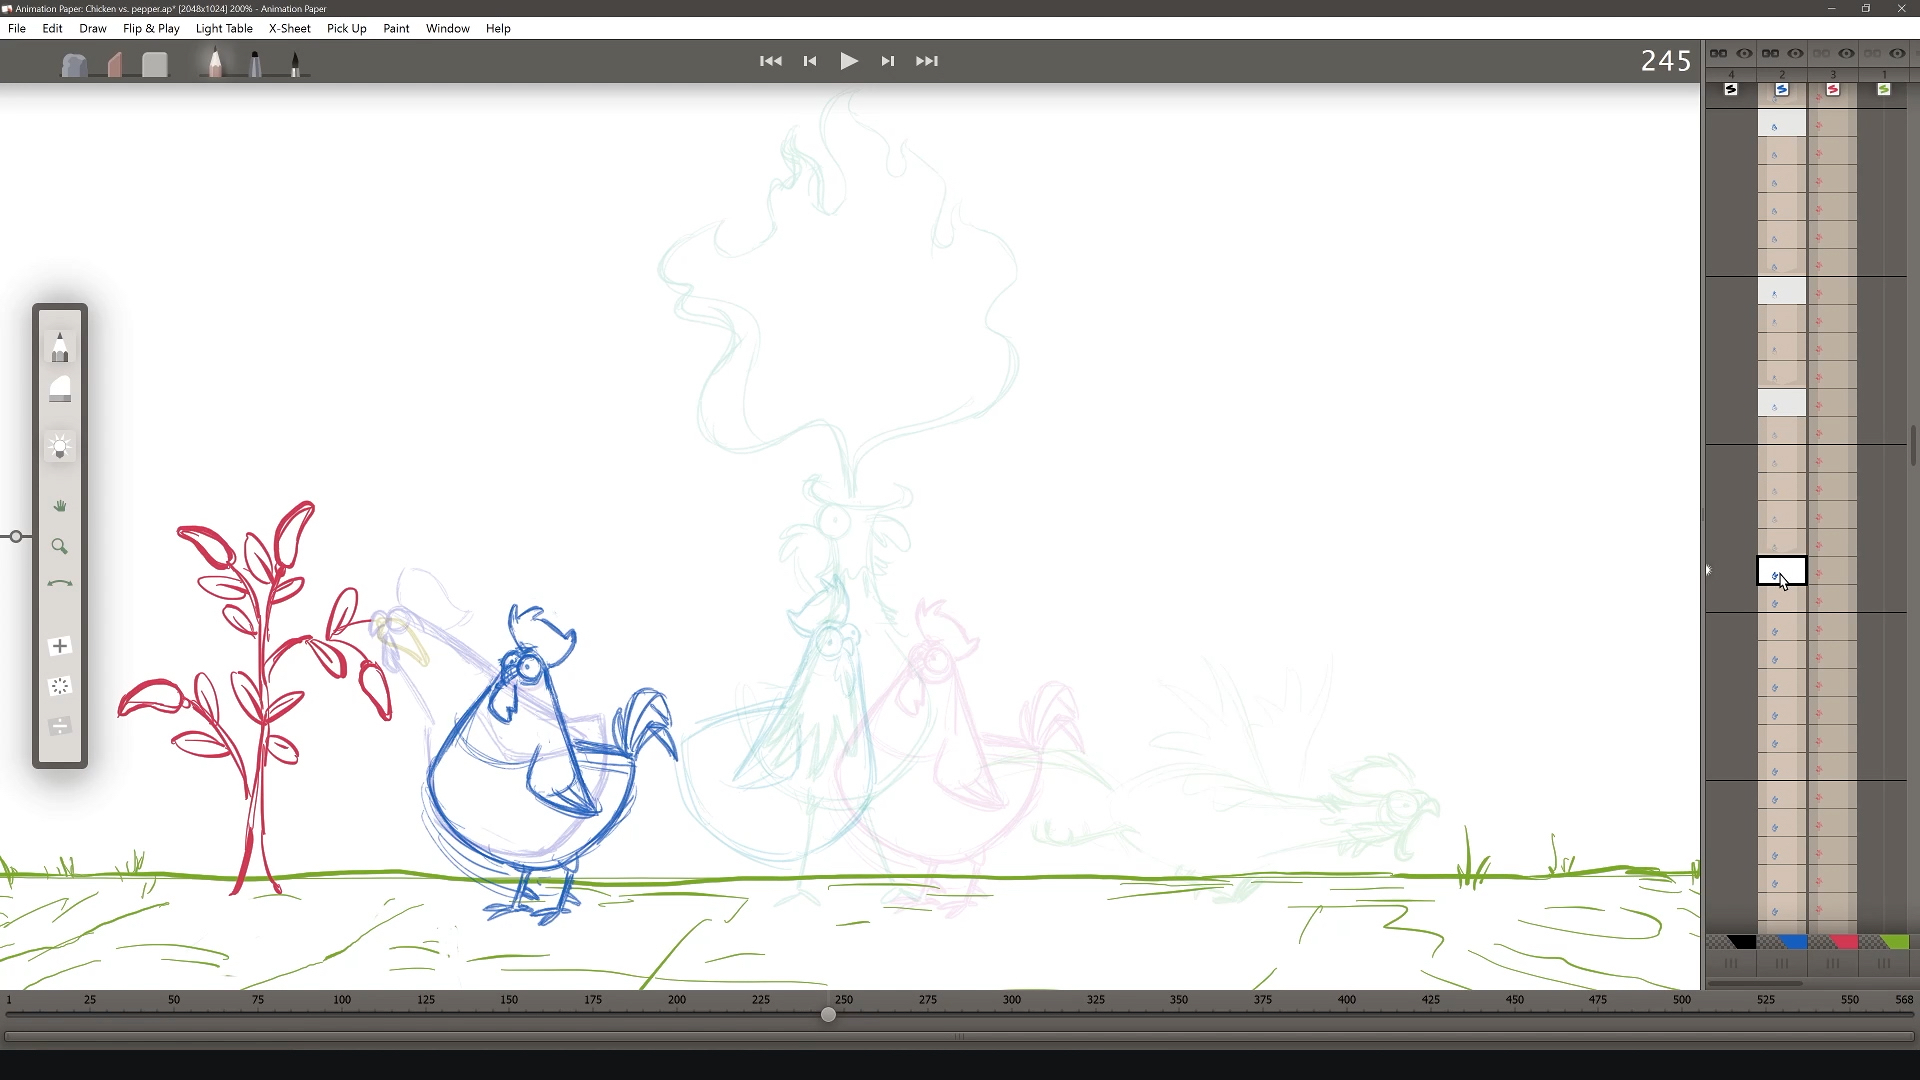
Alpha Video 4 - Animation continued
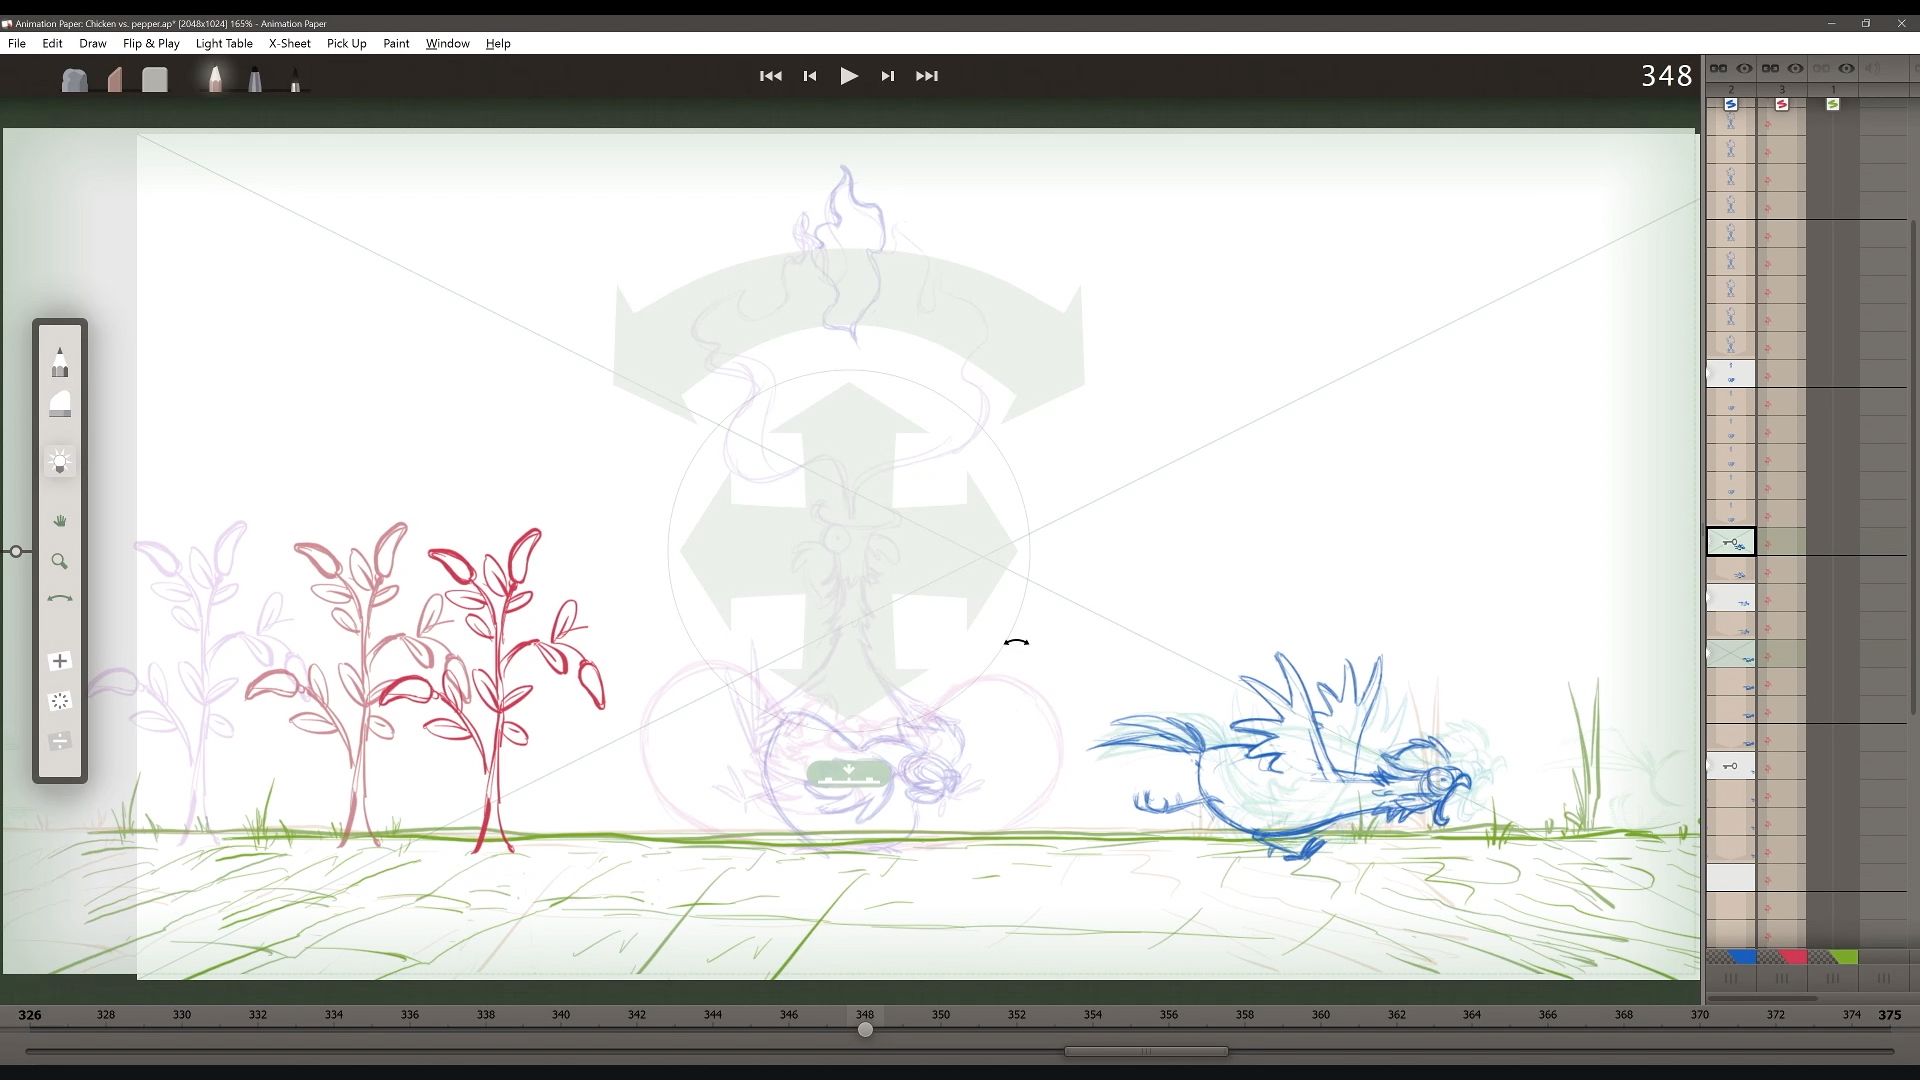
Animation part 2: Chicken vs Pepper. More X-Sheet, Marking Keys, Cut/Copy/Paste Drawings, Frame Rate, Delete Layer and Active Layer Settings (Nothing, Freeze, Cycle).